


Sketch of Timothée Chalamet as Paul Atreides
Time-lapse and description

This time-lapse digitally inked illustration is a glimpse at my method. I’ll go through a few of the steps from start to completion.
To start off, I roughed out the shape of the figure using a digital pencil. Even though I work digitally, I imagine that I’m working traditionally using actual pencils and inks.
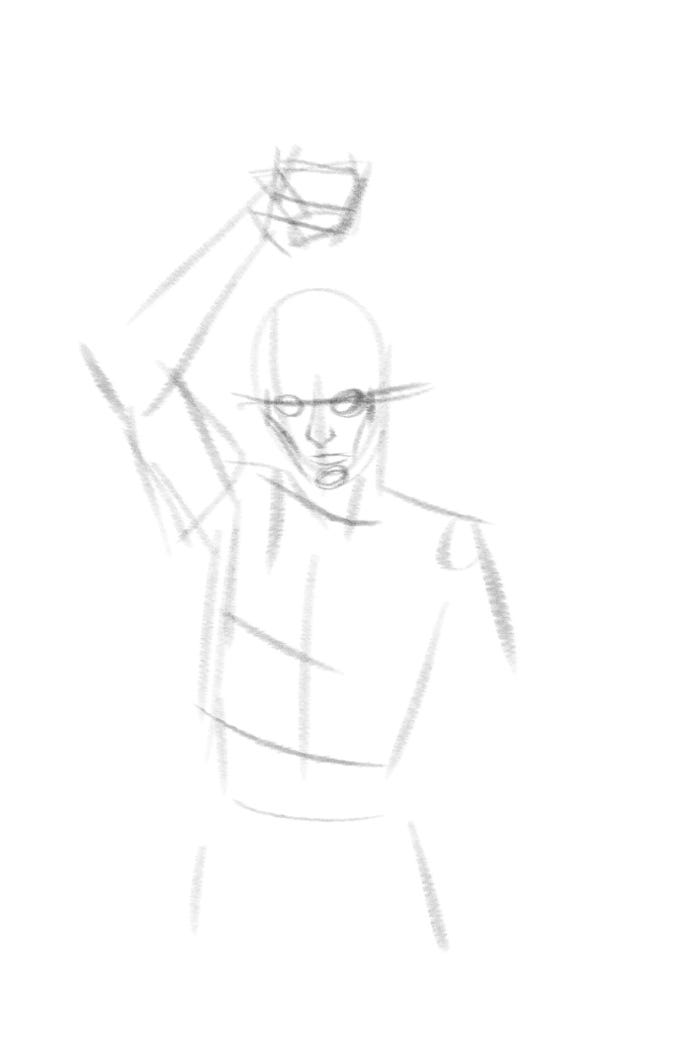
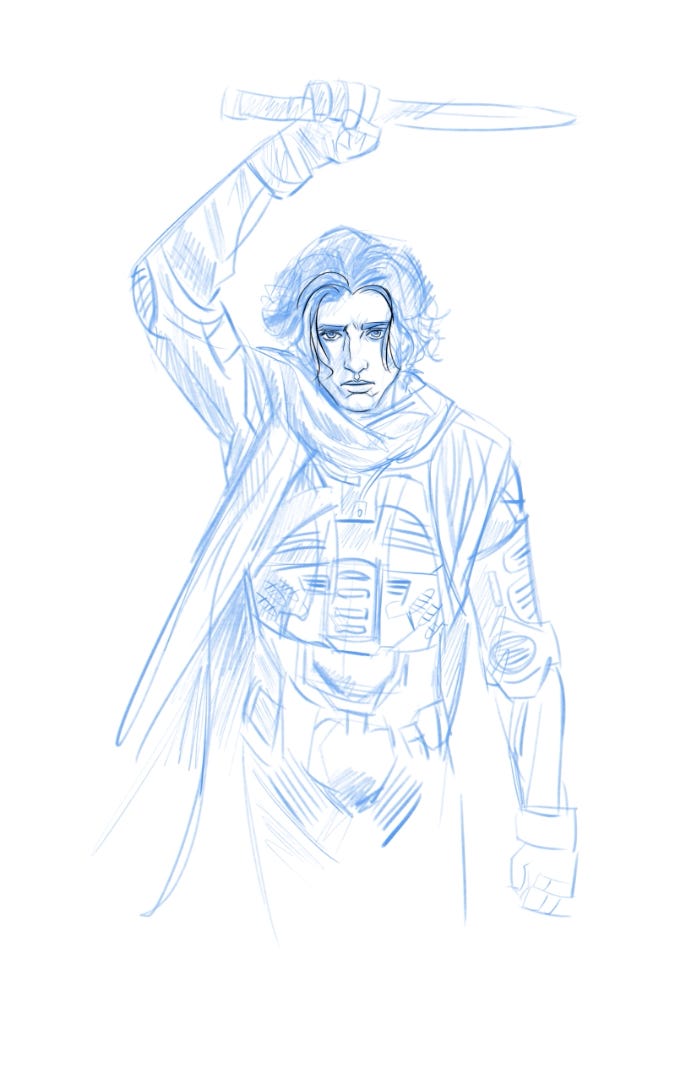
Once that’s done, I use this as visual roadmap that I sketch over with a little more detail. As you’ll see in the next image, I convert this outline sketch to blue. I then create a new layer, using Clip Studio Paint (my illustrating software of choice), and do another pencil sketch, sketching over the original rough outline sketch.

I’ll sketch and erase quick a bit in this stage, having to adjust the proportions. I think of it similar to sculpting, removing and adding to the initial outline shape. The sketch results in something a little more detailed, but still pretty rough.

In my head, I think I’m in a good place to start inking digitally. I take this layer, convert it to blue line, and create a new layer that will be my ink layer. I begin outlining my figure.
Often I’ll discover that my proportions are slightly off, as in the case of his head. I felt like his face looked too long. Here I used the lasso tool to shrink the distance between his eyes and mouth. Here is a side-by-side comparison.


Because his wardrobe is black, I used varying line work to suggest contour, giving it a sense of texture. Here is the final result.

Paul Atreides in all his glory.
Until next time!